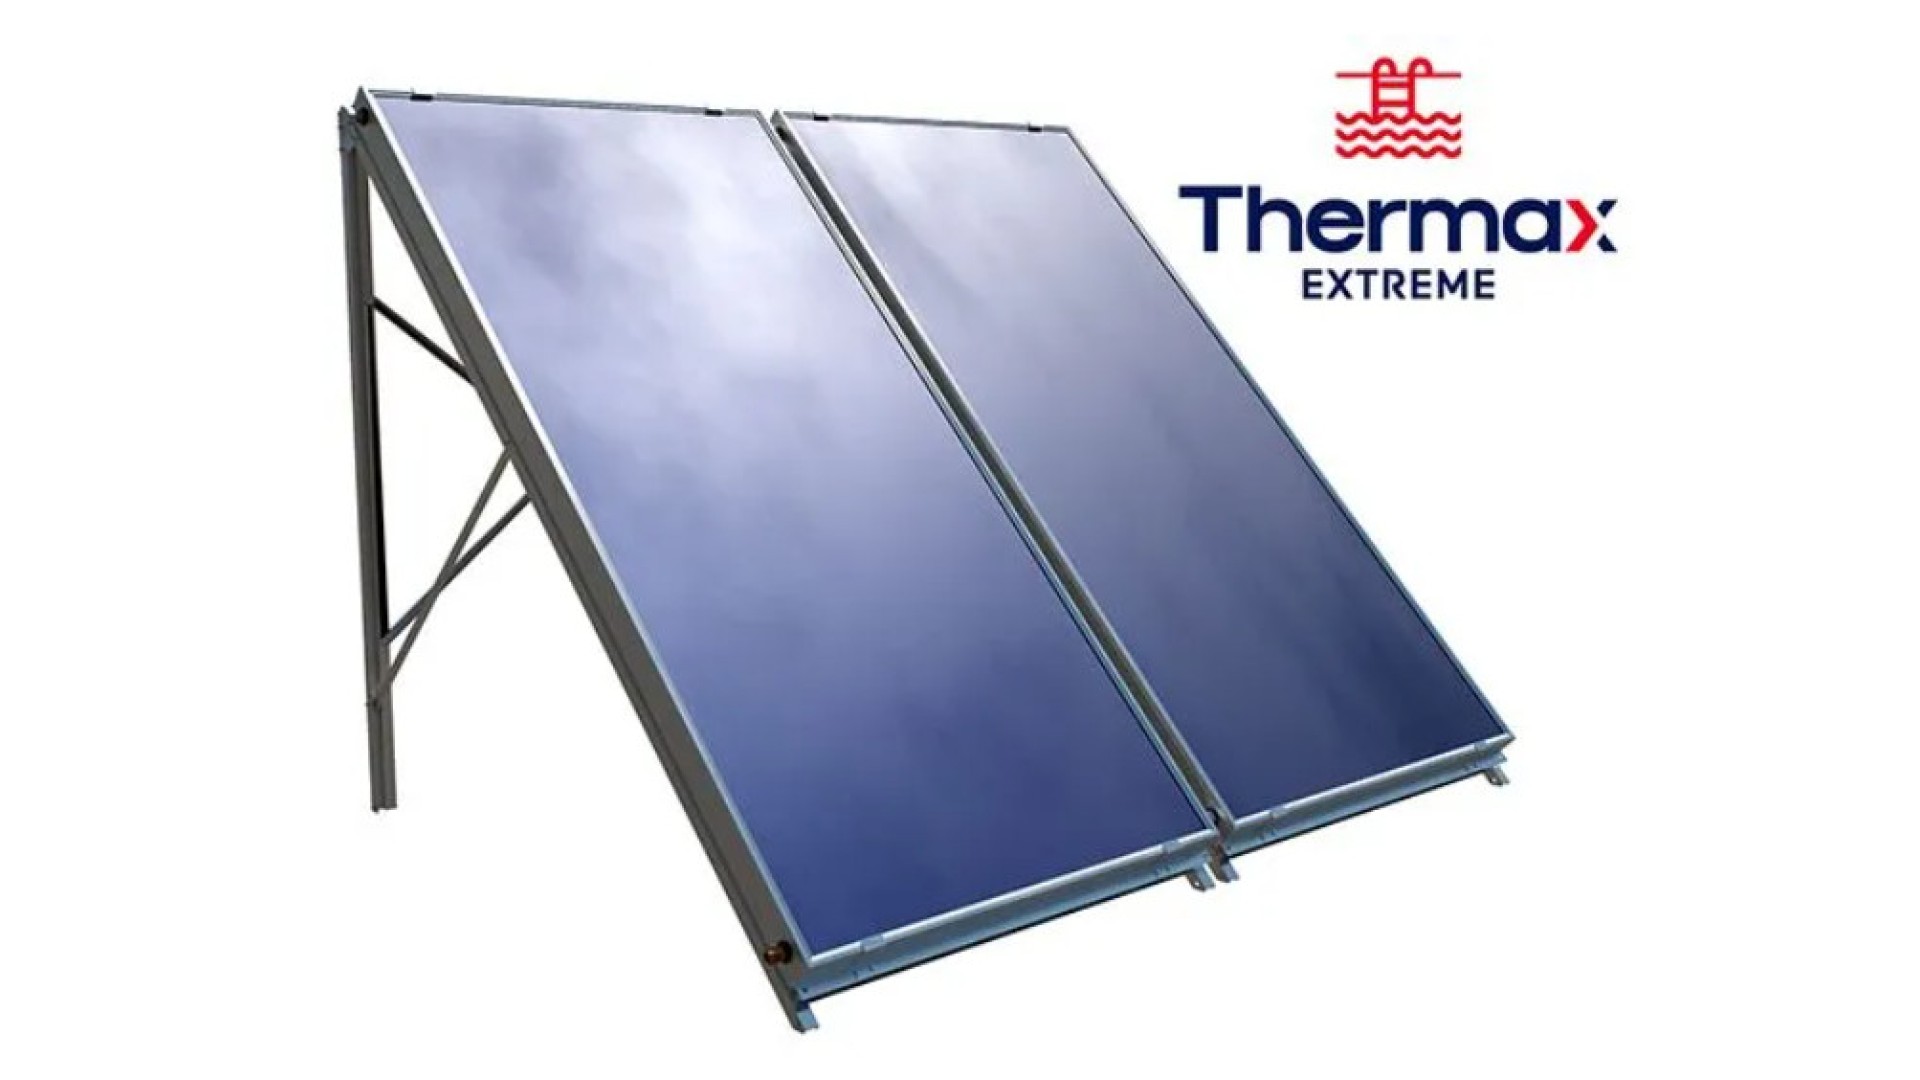
Synergy: The Power of Two Suns – Solar Pool Heaters with Solar Covers

Think of your solar pool heater as one sun diligently warming your pool. Adding a solar pool cover? Like adding a second sun, amplifying the benefits and efficiency of your entire system. Here’s how:

Supercharged Heating:

  • Minimized Evaporation: A pool cover can reduce water evaporation by up to 95%, a major concern in sunny regions. By preventing water loss, the solar heater doesn’t have to constantly heat new water, focusing its energy on raising the existing water temperature faster and higher. Imagine your heater working less while achieving better results!
  • Reduced Heat Loss: Water naturally loses heat overnight and during cool weather. A solar cover acts as a thermal blanket, trapping the warmth generated by your panels and the sun. This significantly reduces heat loss, allowing your pool to stay warmer for longer, maximizing the impact of your solar heating system.

Cost-Efficiency: Savings All Around

By optimizing heating and minimizing losses, a solar pool cover translates to significant cost savings:

  • Reduced Energy Consumption: Your solar heater needs to work less due to reduced evaporation and heat loss. This translates to lower energy consumption, especially if you rely on electric backup heating.
  • Extended Swimming Season: With a warmer pool for longer, you get more enjoyment out of your investment. No need to close the pool early due to cooler temperatures, extending your swimming season and getting the most out of your solar setup.
  • Water Conservation: Minimized evaporation means less water needs to be refilled, saving you money on water bills and protecting this precious resource.

Additional Perks:

Beyond direct cost savings, using a solar cover offers other advantages:

  • Reduced Chemical Usage: Less evaporation means less replenishment, leading to more stable water chemistry. This translates to needing fewer chemicals, saving money and reducing harsh environmental impact.
  • Cleaner Pool: The cover acts as a barrier, protecting your pool from leaves, debris, and insects, reducing cleaning frequency and maintaining a cleaner pool overall.
  • Increased Safety: Pool covers, especially solid ones, offer an extra layer of safety, particularly for young children or pets, providing peace of mind during off-swimming hours.

Choosing the Right Cover:

  • Material: Consider transparent vinyl for heat absorption, opaque covers for privacy and shade control, or mesh covers for partial sunlight and debris protection.
  • Size: Ensure the cover perfectly fits your pool shape and size to optimize its effectiveness.
  • Ease of Use: Choose a cover with features like reels or automatic rollers for easier handling and removal.

Remember: While a solar pool cover works wonders, consistency is key. Use it regularly for optimal benefits.

In Conclusion:

Adding a solar pool cover with your solar pool heating system is a win-win. It increases efficiency, reduces costs, extends your season, and offers additional benefits like cleanliness and safety. By maximizing the power of the sun and minimizing waste, you create a sustainable, cost-effective, and enjoyable pool experience all around. So, embrace the synergy of two suns and dive into the refreshing world of a solar-powered pool oasis!

Patience is Solar-Powered: Understanding Solar Pool Heater Heating Times

Dreaming of diving into a warm, sunshine-kissed pool? While solar pool heaters offer an eco-friendly and cost-effective solution, understanding their heating times is crucial for setting realistic expectations and maximizing their potential. Buckle up, poolside sunbathers, as we unveil the factors influencing how long it takes your solar-powered oasis to reach the perfect temperature!

The Solar Equation:

Unlike their gas-guzzling counterparts, solar heaters rely on the sun’s free energy. This means heating times are influenced by several factors, making every pool unique:

  • Sunshine Intensity: It’s no surprise that brighter sunshine translates to faster heating. Sunny days, especially during peak summer months, deliver the most potent heat boost. Overcast skies or shorter winter days will naturally extend the heating process.
  • Location, Location, Location: Your geographical location plays a big role. Pools in sun-drenched regions like Florida will bask in more consistent warmth compared to cooler areas like Maine. Consider average sunlight hours and seasonal variations when estimating heating times.
  • Pool Size and Depth: Bigger pools require more energy to heat, thus taking longer. Conversely, shallower pools heat up faster due to their smaller water volume.
  • Panel Size and Coverage: The size and number of solar pool panels directly impact heating speed. More panels and larger sizes translate to quicker heating, especially when covering a significant portion of your pool’s surface area.
  • System Efficiency: Factors like pump power, piping layout, and overall system design can impact water flow and heat transfer. Ensuring optimal system efficiency minimizes heat loss and accelerates warming.
  • Desired Water Temperature: Naturally, aiming for a higher temperature will take longer than maintaining a lukewarm dip. Adjust your expectations based on your desired pool comfort level.

Putting it in Numbers:

While providing a one-size-fits-all answer is impossible, here’s a general guideline:

  • Small pools (10,000 gallons) in sunny regions with efficient systems can see a 10-15°F temperature increase within 1-2 days.
  • Larger pools (20,000 gallons) might require 2-4 days under similar conditions to reach the same temperature rise.
  • Cooler regions or less efficient systems could extend heating times to 3-5 days for both pool sizes.

Remember: These are just estimates. Monitor your pool’s temperature and adjust expectations based on your specific setup and weather conditions.

Boosting Your Solar Power:

Here are some tips to optimize your solar pool heater’s performance and potentially reduce heating times:

  • Run your pump during peak sunlight hours (usually midday) for maximum heat absorption.
  • Consider a pool cover when not in use. It traps heat, minimizing overnight temperature loss.
  • Invest in a solar blanket. Placed on the pool’s surface, it absorbs and transfers additional solar heat.
  • Maintain your system regularly. Clean panels and ensure proper pump function for optimal efficiency.

Sunshine, Patience, and a Warm Welcome:

Solar pool heaters offer a sustainable and cost-effective way to extend your swimming season. While heating times vary based on numerous factors, understanding them allows you to plan your dips and appreciate the journey to your sun-warmed paradise. Embrace the solar lifestyle, adjust your expectations, and soon, you’ll be enjoying countless refreshing swims fueled by the power of the sun!

Finding the Flow: Optimizing Water Circulation in Your Solar Pool Heater

Harnessing the sun’s energy to heat your pool is not just good for the environment, it’s also wallet-friendly! But for your solar pool heating system to work its magic, you need the right flow rate, ensuring water efficiently absorbs that solar warmth and delivers it back to your pool. Today, we’ll dive into the factors affecting flow rate and help you find the sweet spot for your system.

Flow Fundamentals:

Imagine your solar pool heater as a highway for water. The flow rate determines how quickly water travels through the panels, impacting heat transfer and system efficiency. Too slow, and the water doesn’t have enough time to heat up. Too fast, and it rushes through, missing out on valuable solar energy.

The Balancing Act:

Finding the ideal flow rate involves balancing several factors:

  • Panel size and number: Each solar pool panel has a recommended flow rate, typically measured in gallons per minute (GPM). Multiply this by the number of panels to get your total desired flow.
  • Pump capacity: Your pump needs to be powerful enough to push the desired water volume through the system. Check your pump’s specifications to ensure it meets the requirement.
  • System pressure: Higher flow rates create more pressure, impacting your pipes and components. Keep pressure within recommended limits to avoid damage.
  • Climate and desired heating speed: Warmer climates might allow slightly lower flow rates, while colder regions might benefit from a bit more push. Consider your desired heating speed when making adjustments.

Hitting the Sweet Spot:

Here are some tips to optimize your flow rate:

  • Start with manufacturer recommendations: Each panel and pump will have specific flow rate guidelines. Use these as a starting point for fine-tuning.
  • Invest in a flow meter: This handy tool helps you measure the actual water flow through your system, allowing for precise adjustments.
  • Utilize a variable-speed pump: These pumps offer greater control over flow rate, allowing you to adjust based on weather conditions and heating needs.
  • Consult a professional: If you’re unsure about the ideal flow rate for your system, a qualified solar pool installer can offer expert advice and adjustments.

Common Flow Rate Misconceptions:

  • Higher flow = faster heating: Not necessarily. Exceeding the recommended flow can actually impede heat transfer and waste energy.
  • One size fits all: Flow rate needs differ based on your specific system and location.
  • Ignore it and set it: Regularly monitoring and adjusting your flow rate can optimize performance and efficiency.

Remember: Maintaining the optimal flow rate ensures your solar pool heater operates at its peak, maximizing heat gain while minimizing energy consumption. By understanding the factors at play and making informed adjustments, you can turn your pool into a haven of sunshine-powered warmth, season after season.

So, grab your goggles, adjust your flow, and enjoy the eco-friendly warmth of your solar-powered pool paradise!

Harnessing the Power of the Sun: A Guide to Mounting Solar Pool Collectors on Your Roof

Introduction:

In the quest for sustainable and energy-efficient solutions, harnessing solar power has emerged as a game-changer. If you’re a pool owner, you can contribute to a greener future while enjoying the benefits of a warm and inviting pool. One effective way to achieve this is by mounting solar pool collectors on your roof. In this blog, we’ll guide you through the process of installing these eco-friendly devices, turning your pool into a solar-heated oasis.

Why Solar Pool Collectors?

Solar pool heaters are designed to capture sunlight and convert it into heat, which is then transferred to your pool water. This not only extends your swimming season but also reduces reliance on conventional heating methods, saving you money and reducing your carbon footprint.

Step 1: Assess Your Roof’s Suitability

Before diving into the installation process, assess your roof’s suitability for solar pool collectors. The ideal roof should have a south-facing orientation with minimal shading from trees or neighboring structures. Additionally, check the roof’s structural integrity to ensure it can support the added weight of the collectors.

Step 2: Choose the Right Type of Solar Collectors

Solar pool collectors come in various types, including glazed and unglazed options. Glazed pool collectors are enclosed in glass or plastic, providing higher efficiency but at a greater cost. Unglazed collectors, on the other hand, are less expensive and better suited for warmer climates. Consider your climate, budget, and desired performance when selecting the type of collectors for your pool.

Step 3: Gather the Necessary Tools and Materials

To ensure a smooth installation process, gather all the necessary tools and materials. This typically includes solar collectors, mounting hardware, a ladder, power drill, screws, a wrench, and a level. It’s crucial to follow the manufacturer’s instructions and recommendations for your specific collectors.

Step 4: Install Mounting Hardware

Begin by installing the mounting hardware onto your roof. This involves securely attaching the brackets to the roof surface, ensuring they are properly aligned and spaced according to the collector’s specifications. Use appropriate sealants and flashing to prevent any potential leaks.

Step 5: Attach Solar Collectors

Once the mounting hardware is in place, carefully attach the solar collectors to the brackets. Ensure they are securely fastened and level to optimize sun exposure. Connect the collectors in series, following the manufacturer’s guidelines for plumbing connections.

Step 6: Install Piping and Connect to the Pool

Connect the piping to the solar collectors, ensuring a tight seal. Run the piping from the collectors to your pool’s existing filtration system, integrating a diverter valve to control the flow of water through the solar system. This allows you to choose between solar heating and traditional heating methods.

Conclusion:

By mounting solar pool collectors on your roof, you’re not only making a smart investment for your home but also contributing to a more sustainable future. Embrace the power of the sun to heat your pool efficiently, reduce energy costs, and minimize your environmental impact. With careful planning and the right equipment, you can turn your pool into a solar-heated haven for enjoyment throughout the seasons.